Notifications
Wavebox brings together all your web apps in one place. Here’s how to set up, manage, and troubleshoot notifications so you never miss an important alert.
- This article refers to pop-up desktop notifications, also called banner notifications that appear in the top-right of your screen.
- For Unread Badges (red circles with numbers) read this article.
Overview
- Types of Notifications: Desktop pop-ups with accompanying sound.
- Platforms: Works on Windows, macOS, and Linux.
- Integrated Apps: Special support for Gmail, Slack, Outlook, and others. They update in real-time, even when sleeping.
Global Settings
- Open Wavebox Settings (cog icon) > General > Desktop Integration > Notifications.
- Choose a default sound (or “None”) for all notifications.
- Volume slider adjusts the default alert volume.
- Send a Test Notification (button)
Per-App Options: Turn On/Off and Sounds.
- Right-click an app > Settings > App Settings.
- Under Badges & Notifications:
- Toggle ON/OFF - Enable sticky banners to keep notifications on screen until you manually dismiss them.
- Dropdown - Change the notification sound. Choose from the selection, or upload your own sound-file. This overrides the global setting.
Allow OS Permissions
- Windows: Check Settings > System > Notifications & actions and confirm Wavebox is allowed.
- macOS: In System Preferences > Notifications, enable both Wavebox and Wavebox Helper (Alerts).
- Test: In Wavebox Settings > Notifications, click Test Notification. You should see two notifications.
Troubleshooting
No Notifications on Windows
- Turn off Focus Assist or set Wavebox to “Priority only” in Windows settings.
- Check Notifications & actions to ensure Wavebox is allowed.
- Restart after clearing old notifications.
No Notifications on macOS
- Confirm permissions for Wavebox and Wavebox Helper (Alerts) in System Preferences > Notifications.
- Disable Do Not Disturb or Focus in the menu bar.
- Retry the Test Notification.
- More details on this here.
Missing or Delayed App Notifications
- Make sure the app isn’t signed out (look for a sign-in prompt).
- Non-integrated apps: Enable “Auto-wake app” in settings so Wavebox checks in the background.
- For integrated apps like Gmail, Slack, Outlook—notifications are pushed instantly.
Still Not Working?
- Check the app’s own notification settings (e.g., Gmail, Slack).
- Update to the latest version of Wavebox.
- Temporarily disable any system-wide Do Not Disturb.
Notifications not working in Google Calendar
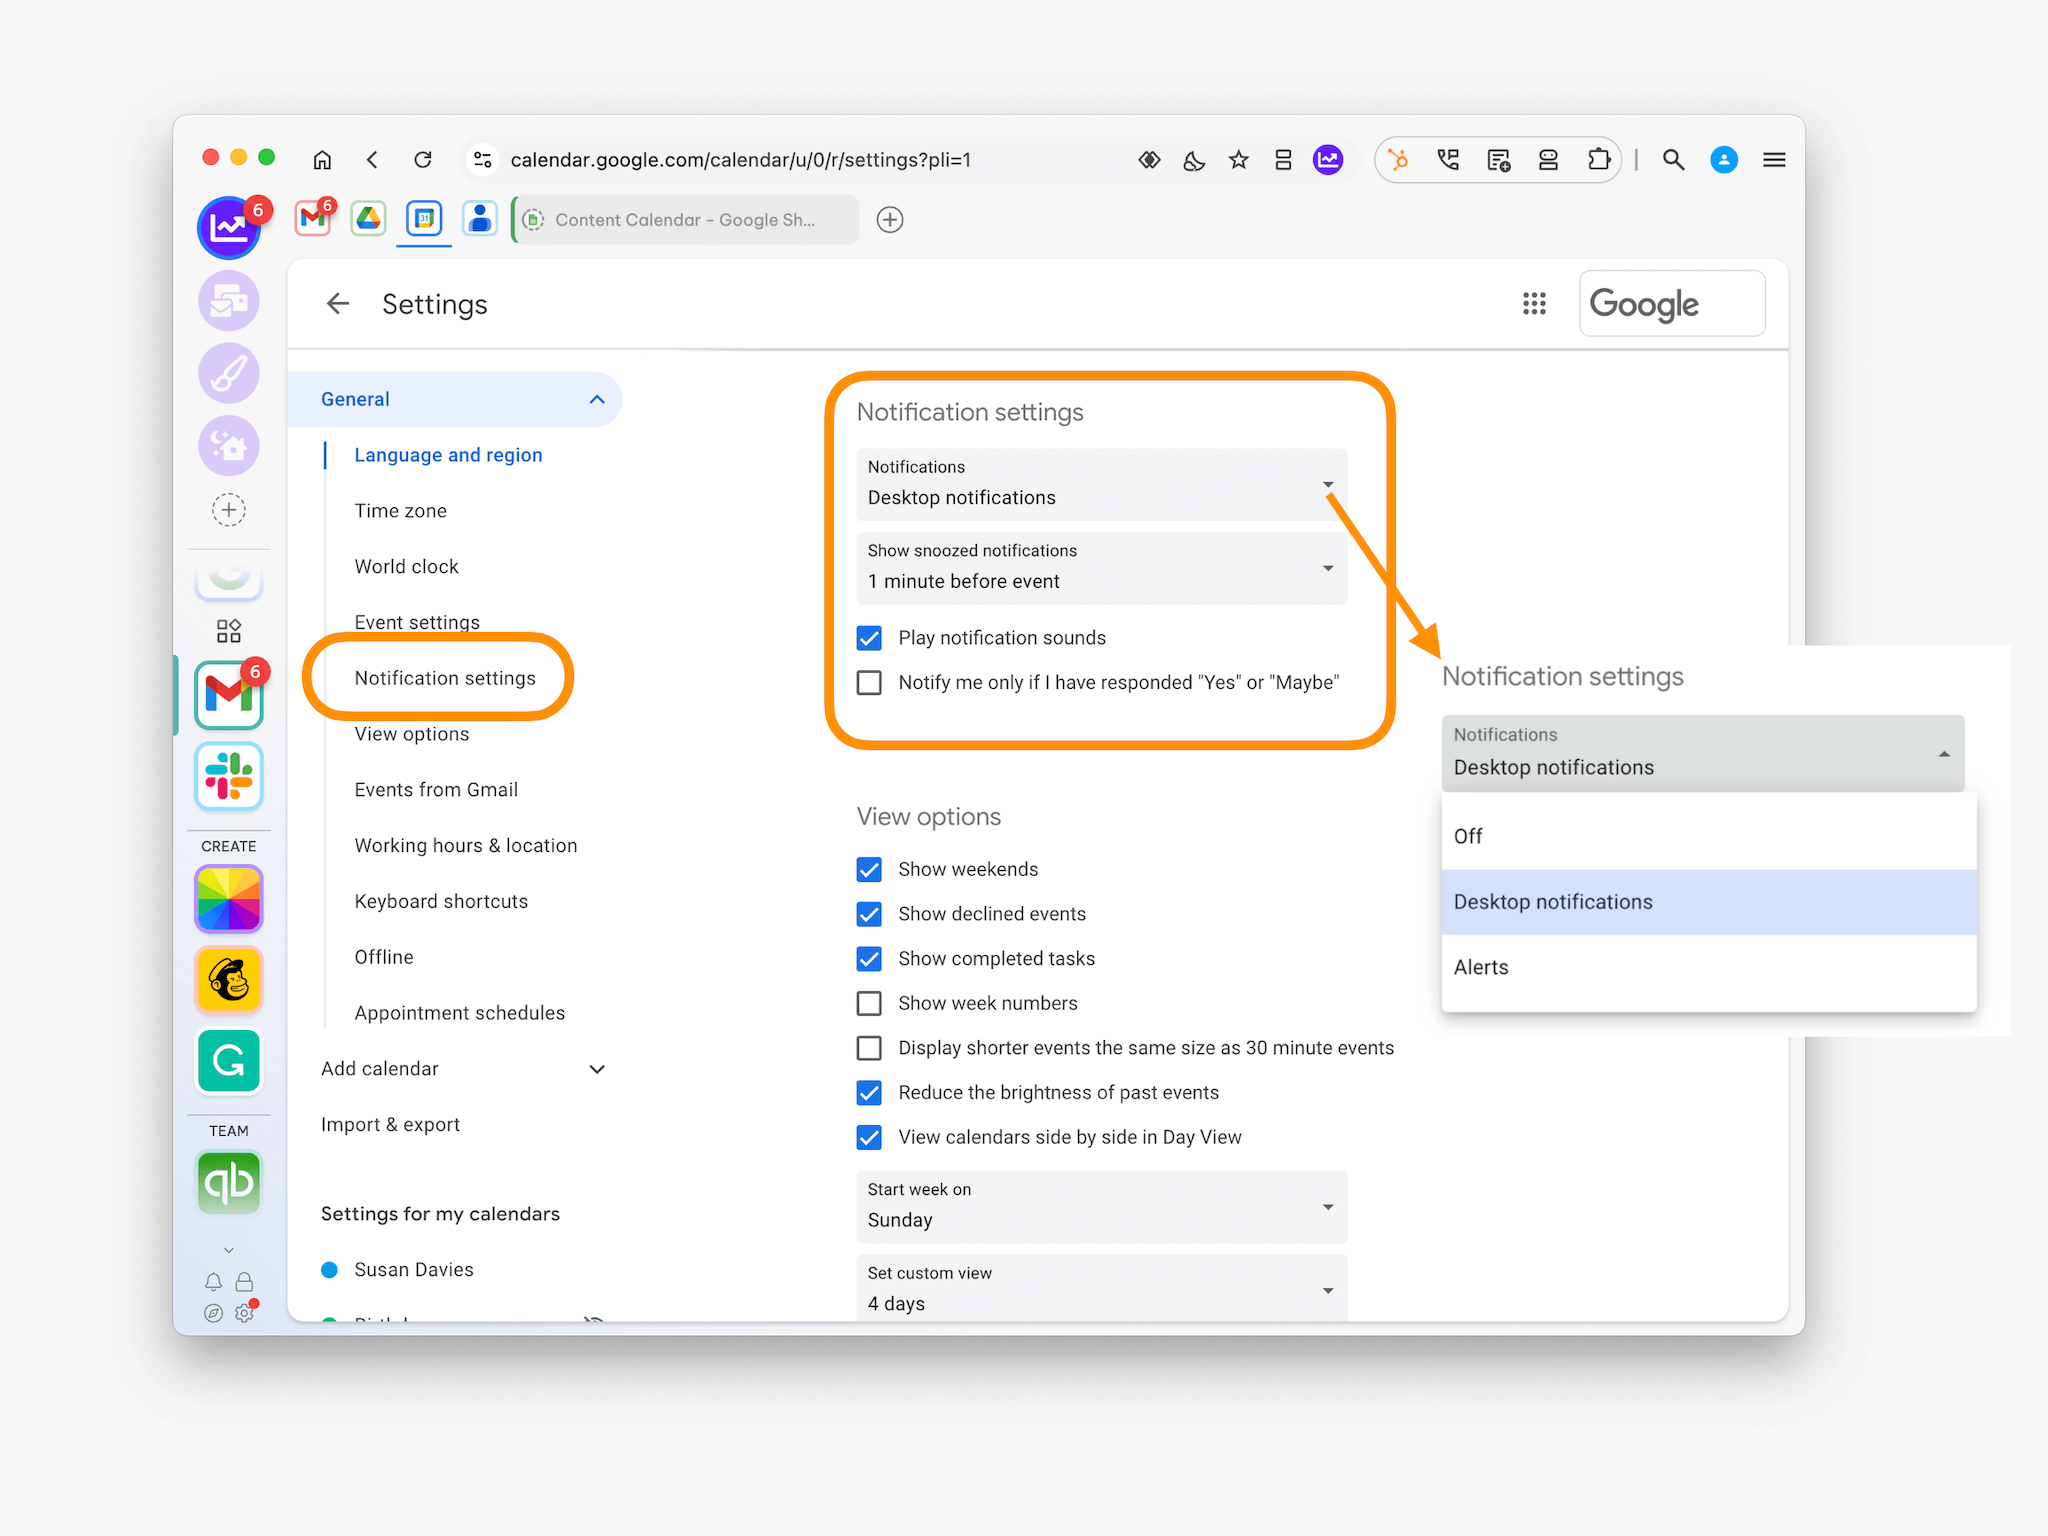
- You can change notification preferences for all your events on Google Calendar.
- In Wavebox, click on your Google Calendar app.
- In the top right of the Google Calendar page, click on the Settings Cog and select Settings from the dropdown menu.
- On the left, under 'General' click Notification settings. Under 'Notification settings,' you can:
- Turn notifications on or off: Click the Notifications drop-down and select how you want to receive notifications.
- Adjust the timing of snoozed notifications: Turn on 'Desktop notifications,' then click Show snoozed notifications and customize your timing.
- Only get notifications if you respond 'Yes' or 'Maybe' to an event: Click the box next to 'Notify me only if I have responded Yes or Maybe.'
Zoho Desktop Notifications not working.
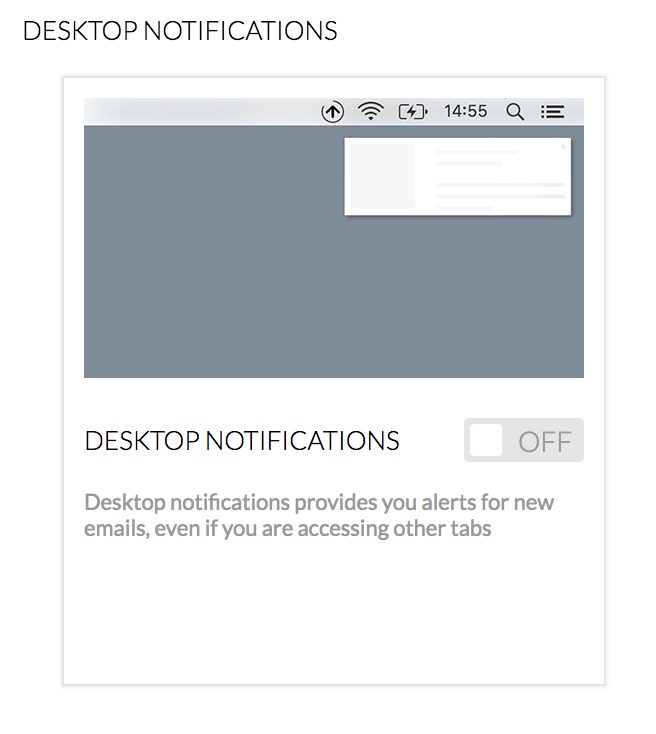
- Zoho Mail doesn't enable desktop notifications by default, so you will need to visit Zoho settings to enable them. Further info. Here's how:
Facebook Messenger notifications not working.
- The first time you sign in to Messenger, it will prompt you if you want to enable desktop notifications. Clicking Allow on the prompt will set them up.
- If you missed the prompt or still aren't seeing notifications, there are some steps that can help troubleshoot this:
- Messenger settings - Facebook has some steps to follow to ensure notifications are enabled in this help article under the Desktop (messenger.com) section.
- Wavebox settings - Open a new tab and paste the following into the address bar wavebox://settings/content/all
- Locate messenger.com and press the trash icon to remove site settings
- Reload messenger and when prompted, click Allow to show notifications.